Start here
The whole journey for a complete beginner, in five short steps. Get the app, add your server, let your VPN and password vault set themselves up, open your apps, and you are done.
On this page
You do not need to know anything about servers to begin. This page is the whole journey, start to finish. Each step says what happens by itself, and what little you do. Every step links to a page with more detail, for when you want it.
If you like to see the big picture first, Meet the apps shows the few pieces of LibrePortal and what each one is for.
Step 1: Get the LibrePortal app#
The LibrePortal app is the one place where you look after your servers. It is for a Linux computer, a Windows computer and an Android phone, and it is free.
On a computer
- Download it from libreportal.org/download. It comes for Linux and for Windows. Open the file and install it.
- Open it. On the first start it shows a short page about your data and asks you to agree. Nothing is sent anywhere except to the servers you add.
On a phone
- Download it from libreportal.org/download in your Android phone's browser. The browser asks once whether it may install an app: say yes for this download, then tap the file.
- Open it. On the first start it shows a short page about your data and asks you to agree. Nothing is sent anywhere except to the servers you add. Later, it checks for updates only if you say yes.
What happens for you: the app sets itself up, and on a phone it checks for updates only if you say yes. What you do: download, install, open.
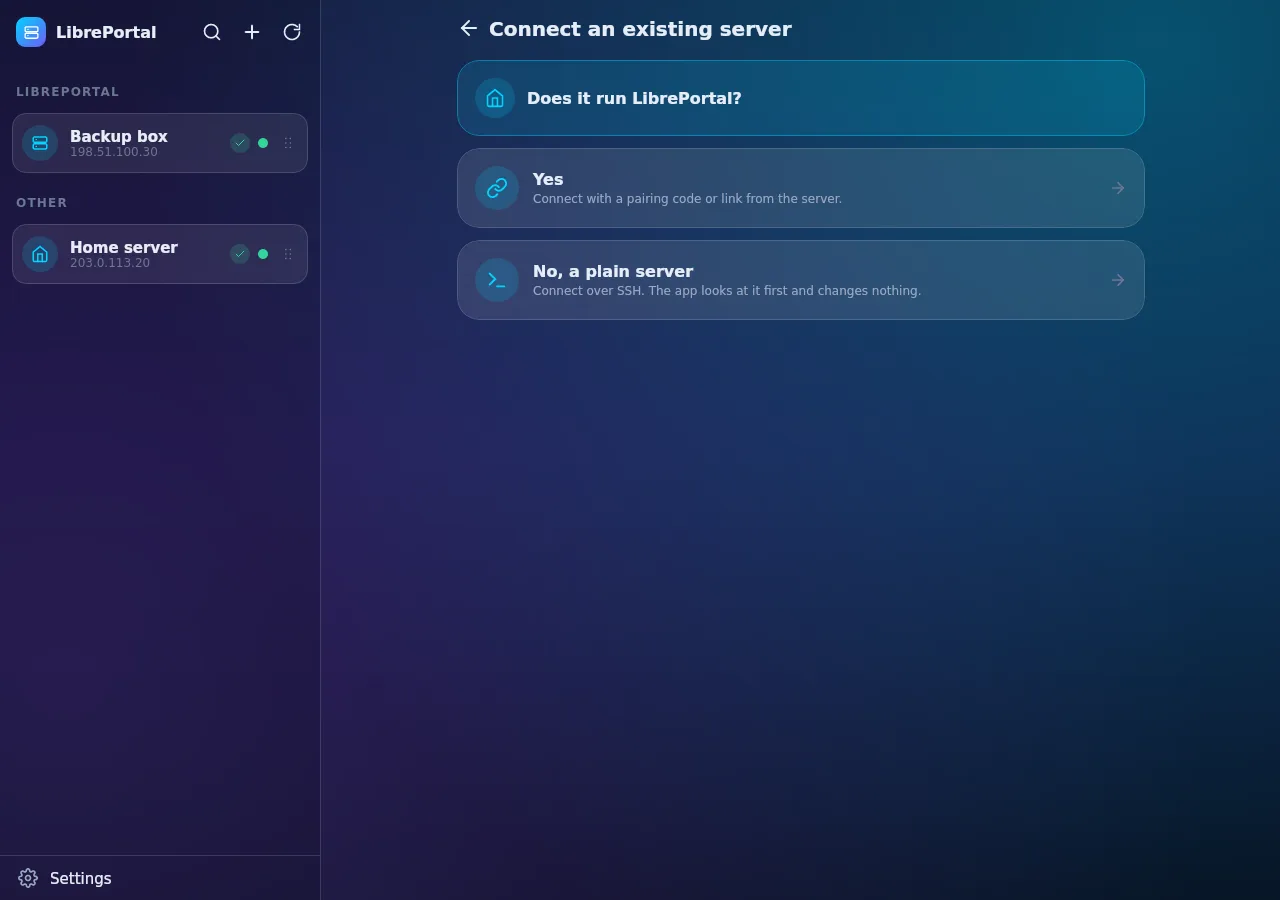
More: The LibrePortal app.
Step 2: Add your server#
A server is a computer that stays on and runs your apps. LibrePortal is the software that turns it into your own private cloud. You have three ways to get one into the app:
- You do not have a server yet. Choose Get a new server. The app sets one up on a hosting company's server, step by step, and shows the exact price before anything is bought. See Add, import and rename servers.
- You have a server that does not run LibrePortal yet. Choose Use a server I already have. The app looks at the server first and changes nothing until you say so, then installs LibrePortal for you. This is the way most people do it. See Install LibrePortal and Servers without LibrePortal.
- You already run LibrePortal on it, because you installed it from the command line. It printed a pairing link. Choose With a pairing code and paste the link.
What happens for you: the app checks the server answers, finds or makes its own sign-in key, and joins it to your private network. What you do: answer one question per page, or paste one link.
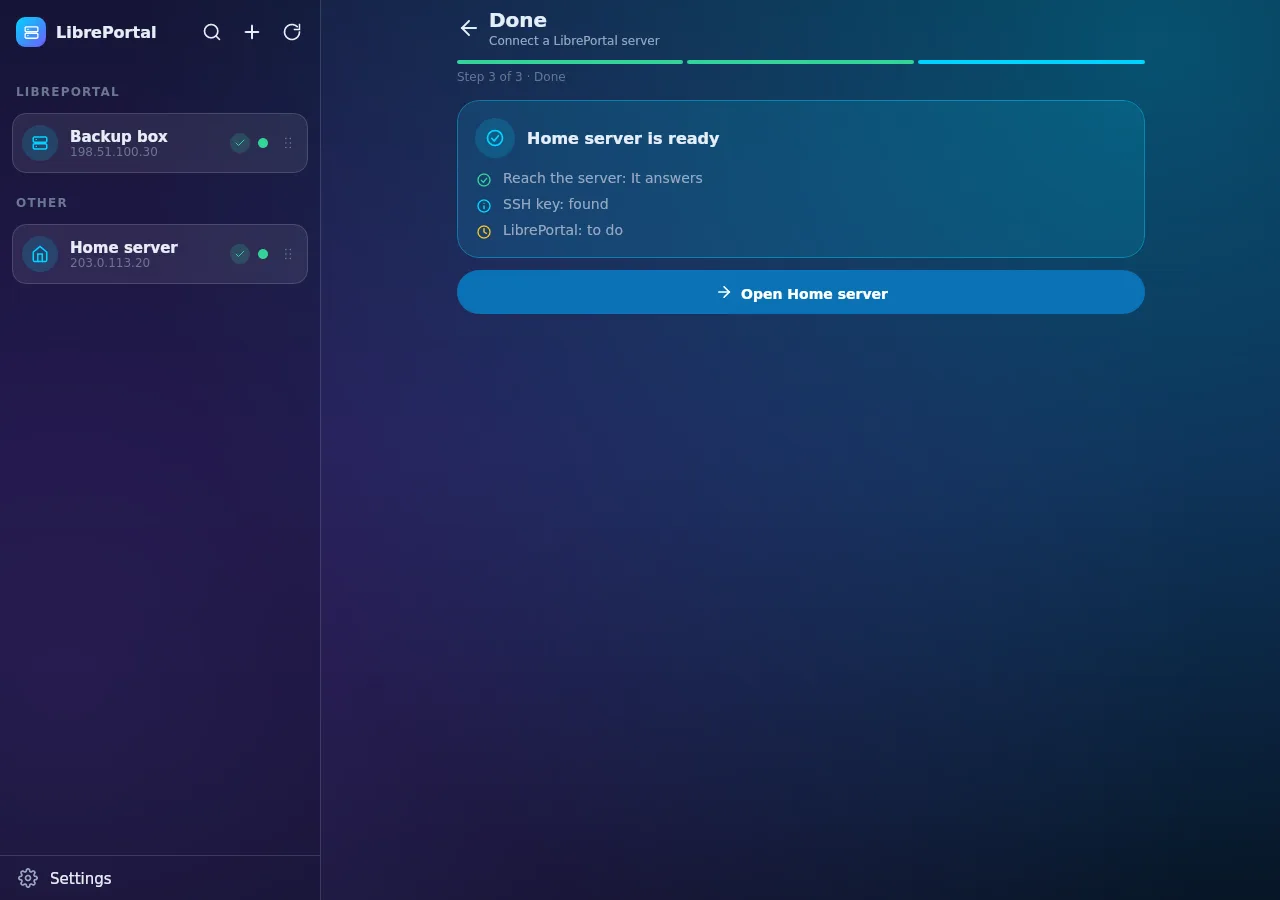
No server at all?
Read What you need. A small computer at home works, and so does a rented server. If a word on this page is new, the Glossary explains it in one line.
Step 3: Your VPN and your password vault set themselves up#
Two small apps come with the LibrePortal app. On its first start the LibrePortal app shows a short screen, What LibrePortal needs, that lists them and offers to open each one.
- LibreVPN keeps a private, encrypted link from your phone or computer to each of your servers, so your private apps open from anywhere. It joins the servers by itself, as soon as you add them.
- LibreVault is your password vault. It keeps each server's disk password, root password and keys, and your own passwords too. You choose one password, the Keyring password. LibreVault then makes a vault on each server by itself and remembers the passwords it generated.
What happens for you: LibreVPN lists your servers and adds their networks, and LibreVault creates one vault for each server and fills it. The LibrePortal app asks LibreVault for a password only at the moment it needs one, and keeps none of its own. What you do: open each app once, allow the VPN when your phone or computer asks, and choose the Keyring password. LibreVault then offers to make a recovery key. Print it and keep it away from the computer.
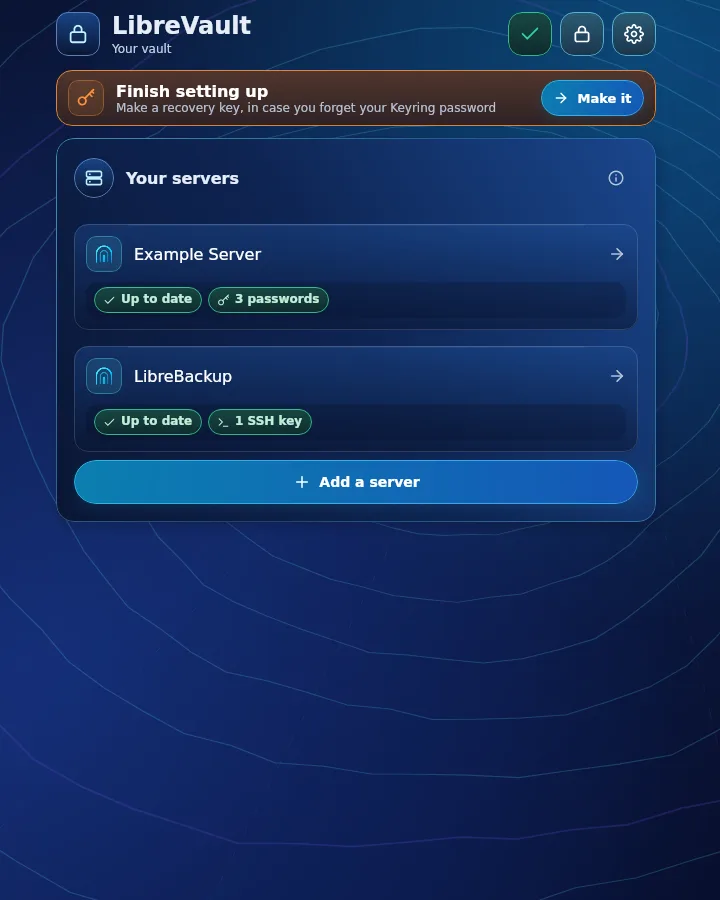
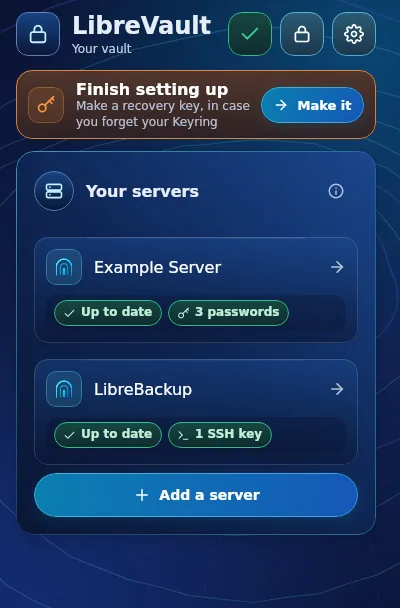
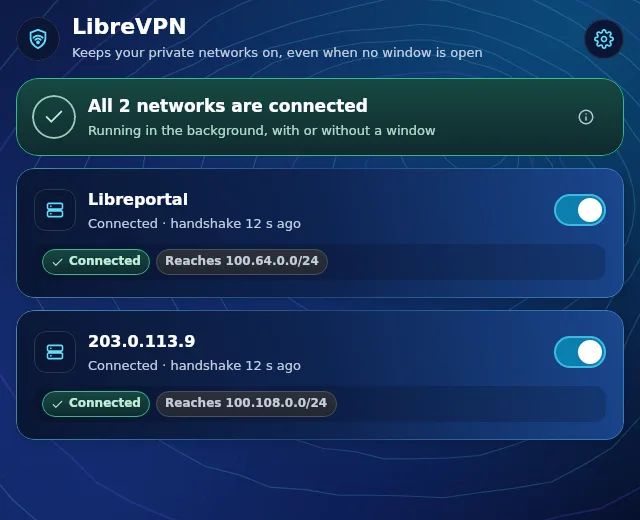
Read more in LibreVPN and LibreVault. The page Things to check explains the little to-do list the app keeps for each server.
Step 4: Open your apps#
Your server comes with the App Center, a shop of apps that you install with one button. Pick one that sounds useful, for example a photo app or a file app, and press Install. LibrePortal sets it up, gives it an address and a login, and shows you its page with the login details.
What happens for you: the image is downloaded, the app is configured, its address and certificate are made, and a backup is scheduled. What you do: pick an app and press Install.
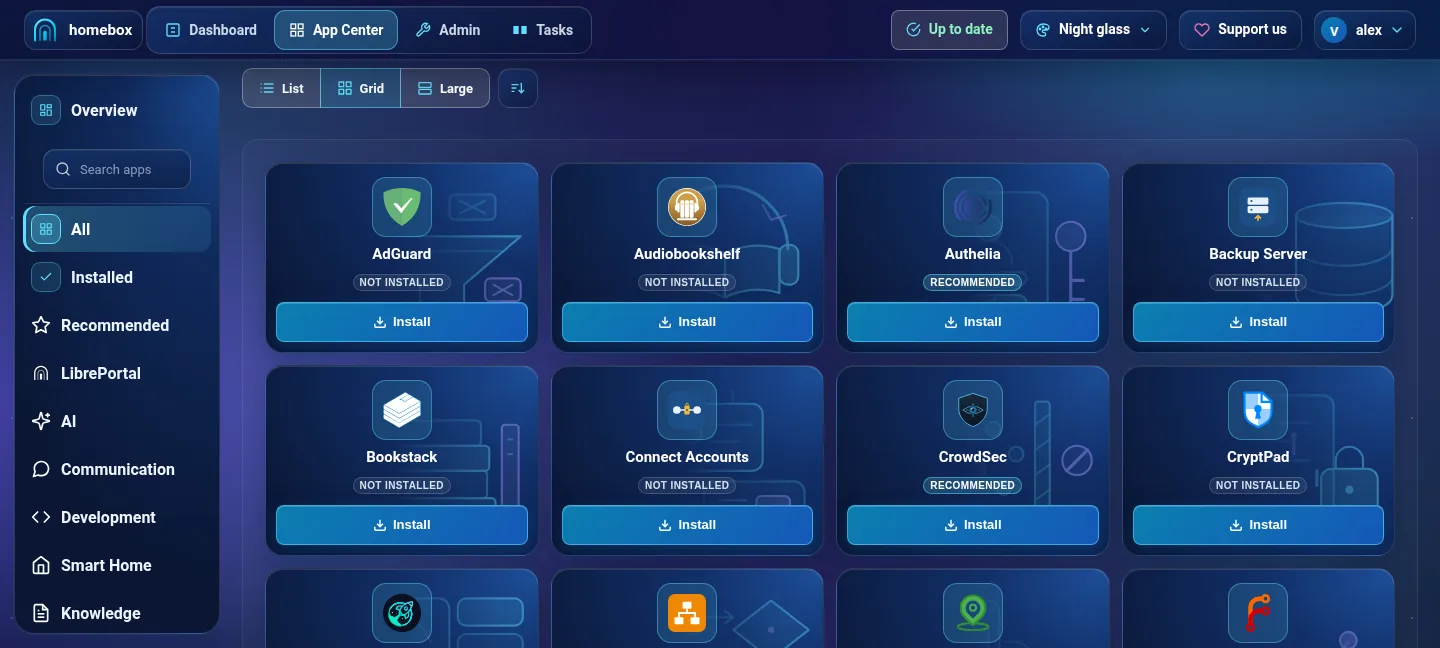
More: Installing apps, A tour of the WebUI and Every app.
Step 5: You are done#
That is a working private cloud. Your apps are reachable from home and, through LibreVPN, from anywhere, and your passwords are in a vault only you can open.
When you want it, add backups. LibrePortal already backs your apps up every night to the server itself. For a copy somewhere else, LibreBackup is a second home for your backups: a separate server that collects encrypted backups and can also keep a spare copy of your password vault.
What you do later: nothing, until you choose to. A good next step is Backups and restore.
If something looks wrong#
- The app shows a small Things to check list on each server, with one button per job. See Things to check.
- Troubleshooting covers the problems people meet most.
- Words you have not seen are in the Glossary.